Android Things - Quick Overview And Getting Started
03 Jul 2017On December 2016 Google released first Developer Preview of Android Things, their IoT platform, based on the Android operating system. I’m not going to elaborate here on details, you can find all you need on the official website but there are 3 interesting points to make about the fairly new OS:
- It’s done by Google. There are dozens of IoT platforms now in the “Linux box” category, but somehow I have a feeling that Google is the most capable entity to provide standard OS for IoT applications.
- In 2017 there are two categories of IoT devices. The small, mostly battery powered devices (think smart sensors, beacons etc), based on microcontrollers (right now ARM Cortex-M architecture seems to be dominating that field). Those devices have sub-1MB storage capacity and sub-100KB RAM capacity, running clock speeds below ~100MHz. The second category is “Linux box” devices, which are basically smartphone class right now (think something like mid-end smartphone circa 2013) with the capacity to run sophisticated software (i.e. Convolutional neural network, advanced networking etc.). Android Things is targeting the latter category.
- It is basically and Android OS, running ART runtime environment, which means we can leverage all the Android tools, methodologies and libraries we love and use every day. And most importantly, we can write Kotlin for it!
How to get started with Android Things?
First, I recommend watching this presentation from Google I/O 2017 with the current overview of the platform:
Google I/O 2017 Android Things presentation
Second, you need to buy some hardware. But if you don’t have experience with electronics I don’t recommend starting straight from Android Things capable device. I recommend starting with inexpensive Arduino starter kit. There are two reasons why:
- You will learn all the essentials (basics about electronics engineering, different parts, current, wiring a breadboard) on a cheap device that loads your code and boots in a matter of seconds. If you mess something up you won’t burn fairly expensive device like Raspberry Pi. And all the basics are the same on both platforms.
- You will be able to use the same parts for Android Things development. Same breadboards, jumper wires, LEDs, resistors, LCDs etc.
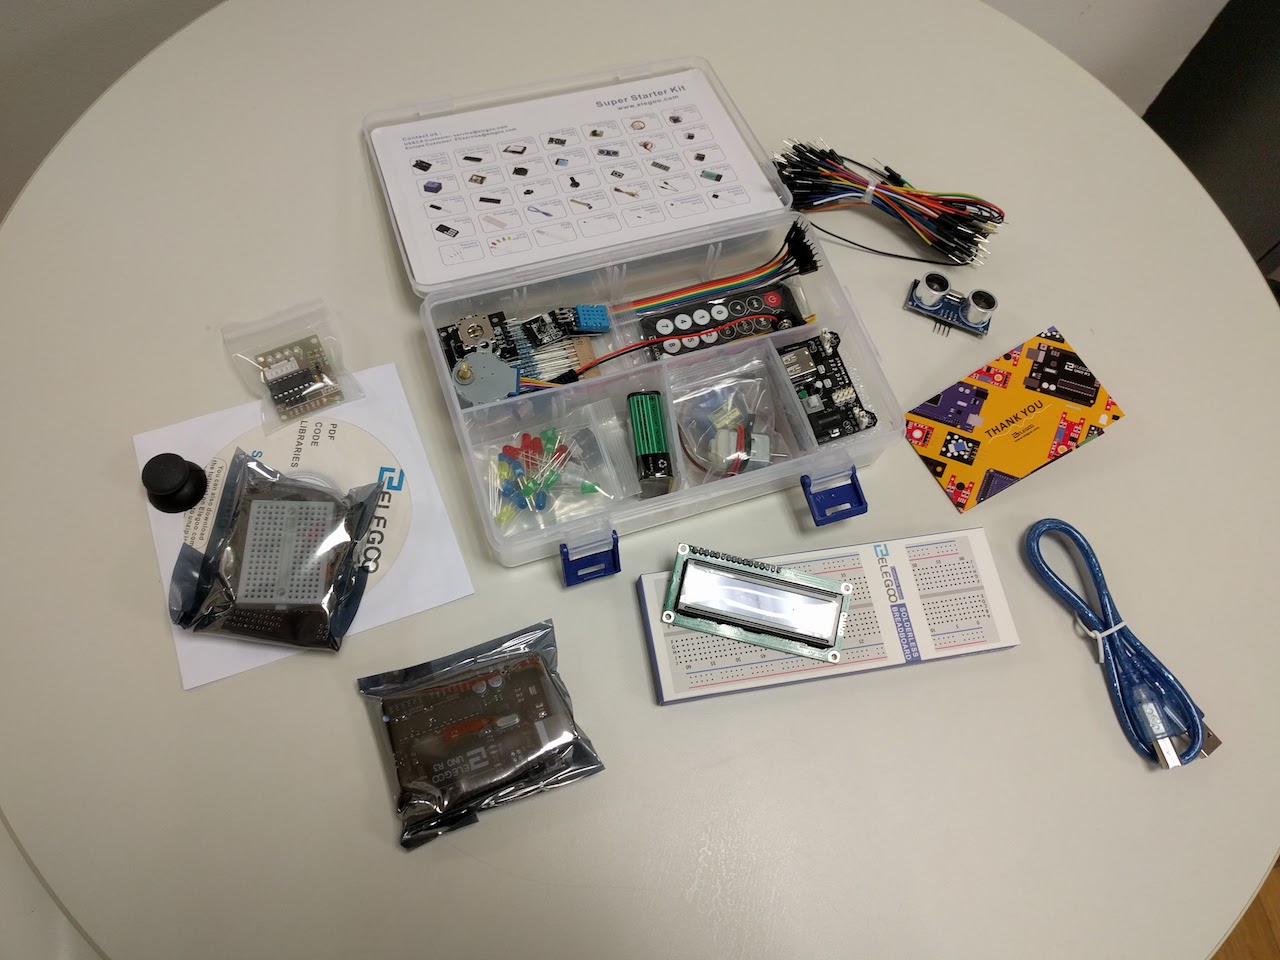 Arduino kit by Kuman
I recommend cheap Arduino UNO R3 clone starter kit. I bought a starter kit from Kuman for around ~30USD from Amazon, and the quality of the Arduino board was quite nice. In my opinion, the UNO R3 version is best for learning purposes (there are dozens more Arduino boards) cause this one is the “standard”, easy to learn (pins are clearly marked so it is super easy to wire it up) and most of the tutorials use this board. When choosing your Arduino kit, make sure it has some female to male jumper wires included since the Raspberry Pi 3 uses male GPIO ports. Arduino uses custom IDE and the language you program in is based on C and C++. The IDE is very mature and a pleasure to develop in. After getting your starter kit, I would recommend going through this tutorial series by Jeremy Blum. It goes through all the basics of electronics engineering, almost all the knowledge you acquire will be directly transferred to Android Things development.
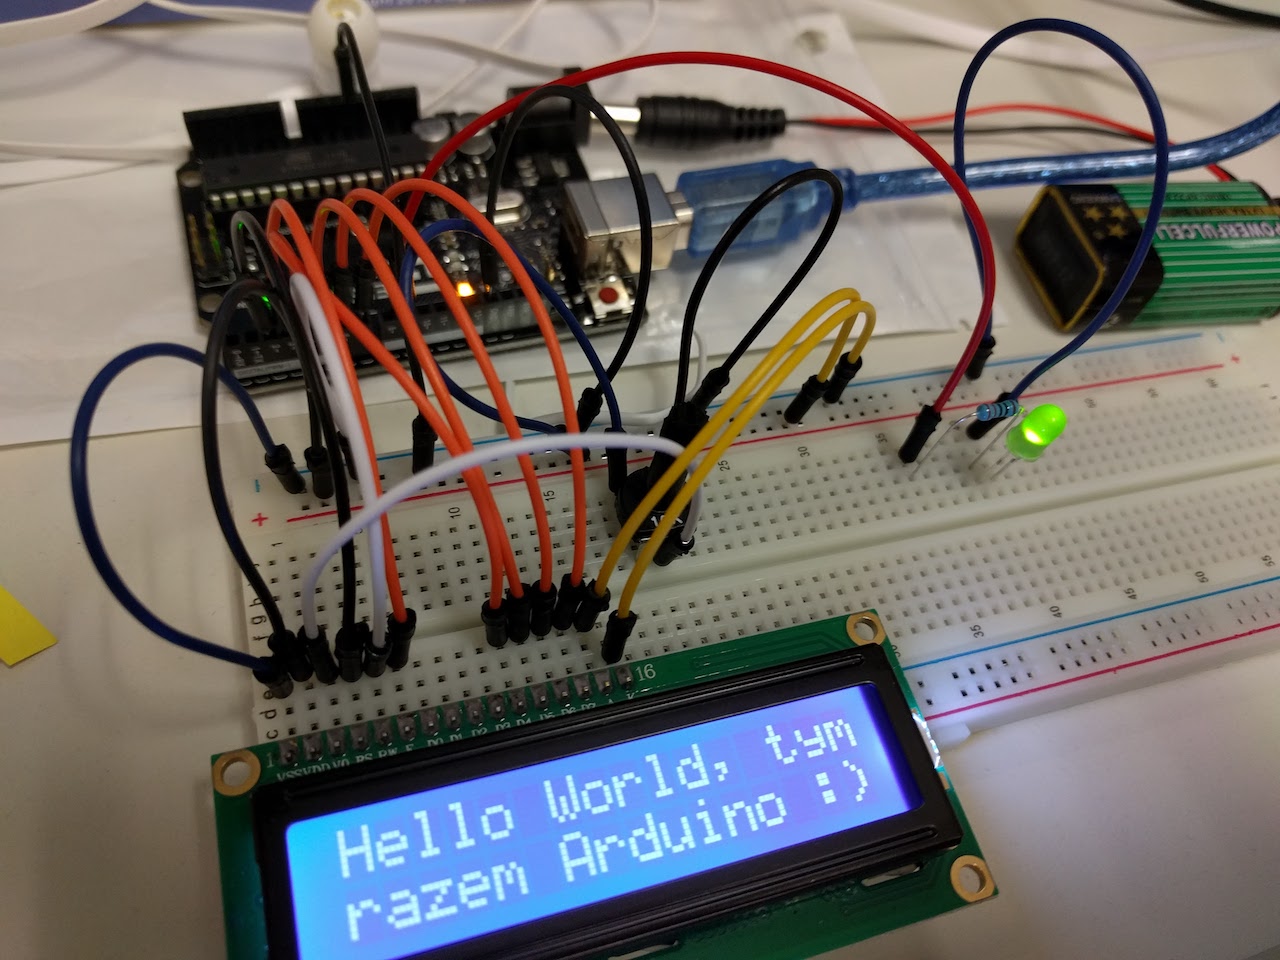 Arduino wired up with the LCD screen
After playing a bit with Arduino and going through the basics you can switch to Android Things. For the first development board, I would recommend Raspberry Pi 3 Model B. It is very popular device, you can get it in any country for about 30-40USD. On a recent Android Developers Backstage podcast, Android Things guys mentioned that this device is by far the most popular now in the community, which makes troubleshooting a lot easier. All the flashing and development instructions are available on the official website. As always, Stack Overflow is very helpful, especially now, during the preview phase were the official docs aren’t mature yet.
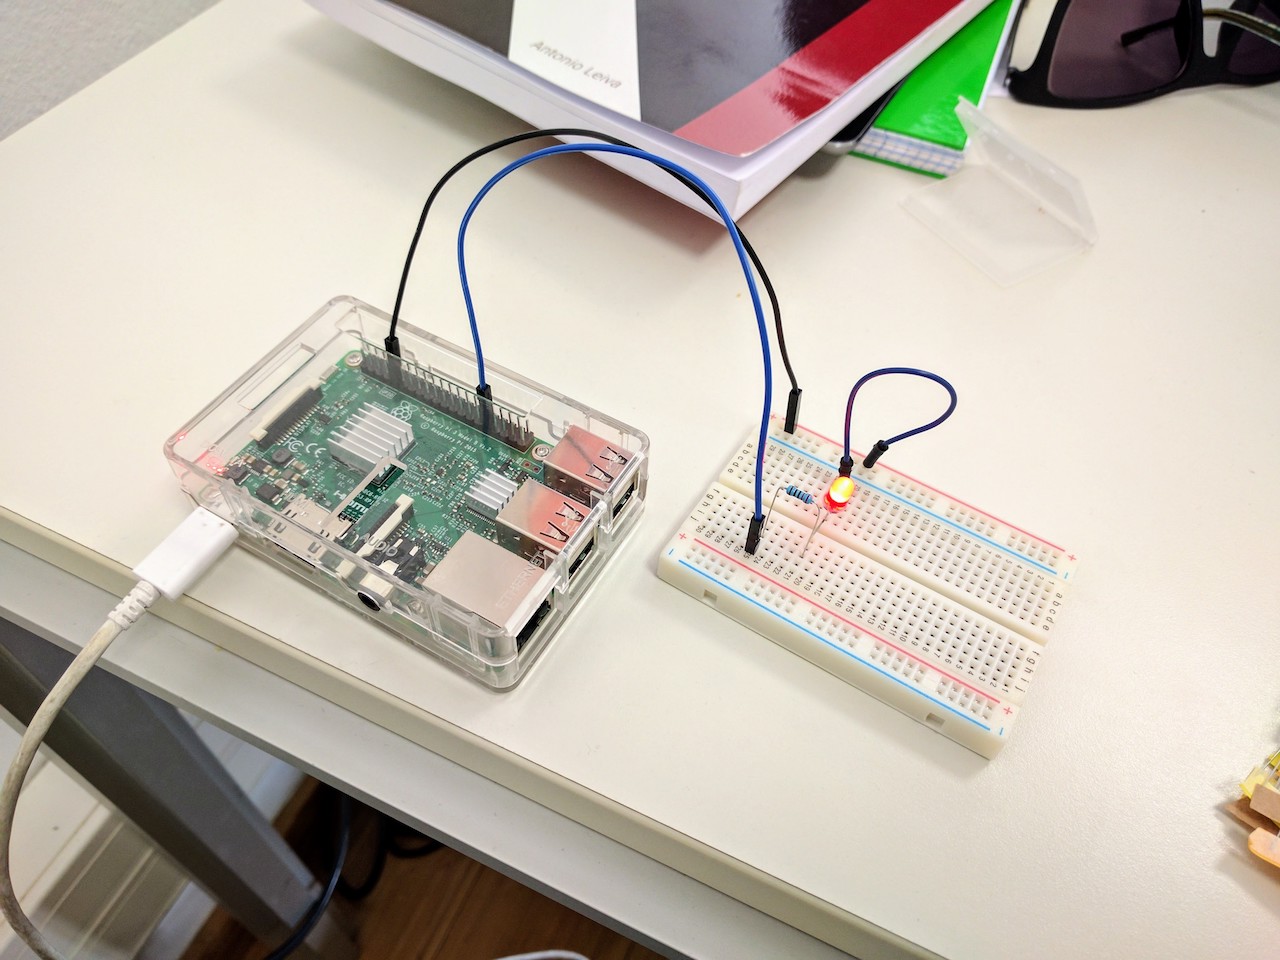 Hello world of electronics: a blinking LED
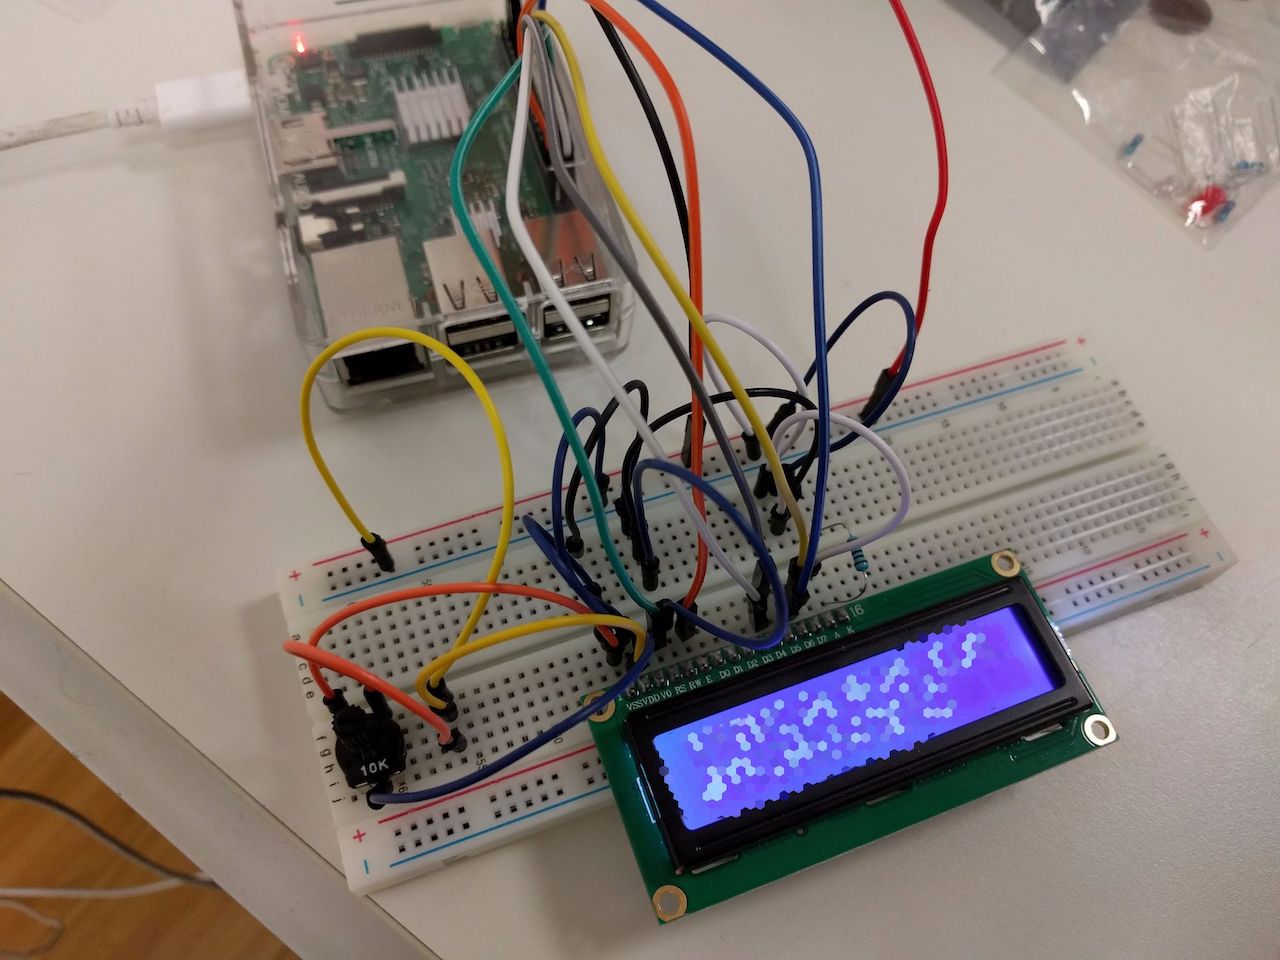 Arduino 1602 LCD screen wired for Raspberry Pi with Android Things